
Summer is in full swing, and fresh corn has started appearing at the markets. While cornfields are a common sight in Germany, most of the crop is used as livestock feed. Finding fresh corn with husks is rare and exciting! Every year, I eagerly purchase some when I see it at the local farmer's stand.
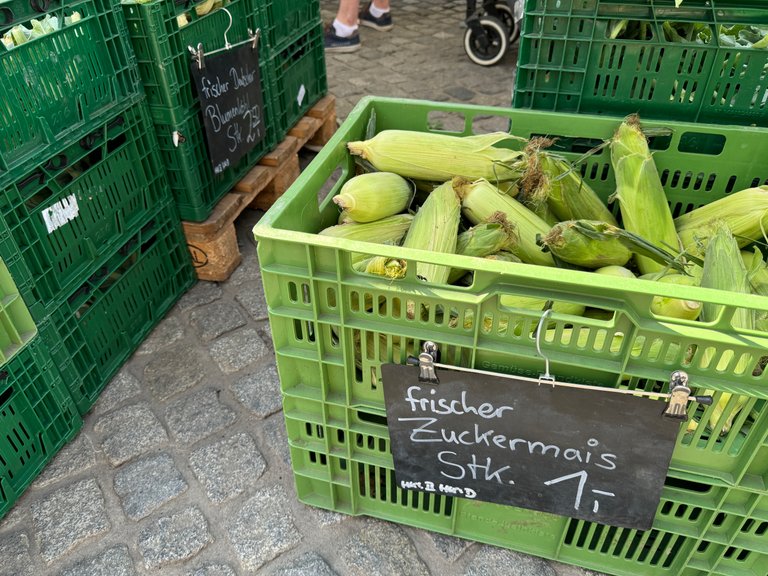
Inspired by this seasonal treat, I decided to make corn Onigiri. To add a bit of color, I included some green shiso leaves from my balcony. The result was delightful. You can also use basil or chives, depending on your preference.
Ingredients
- 1 cup (180ml) Japanese sticky rice
- 200ml water
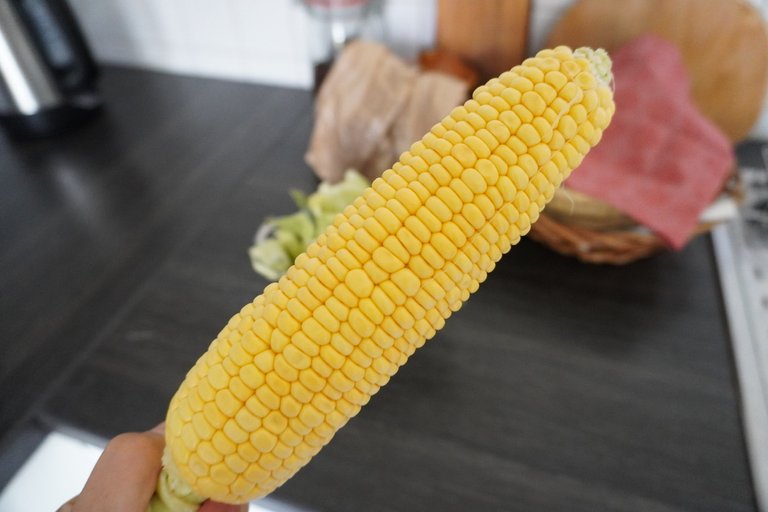
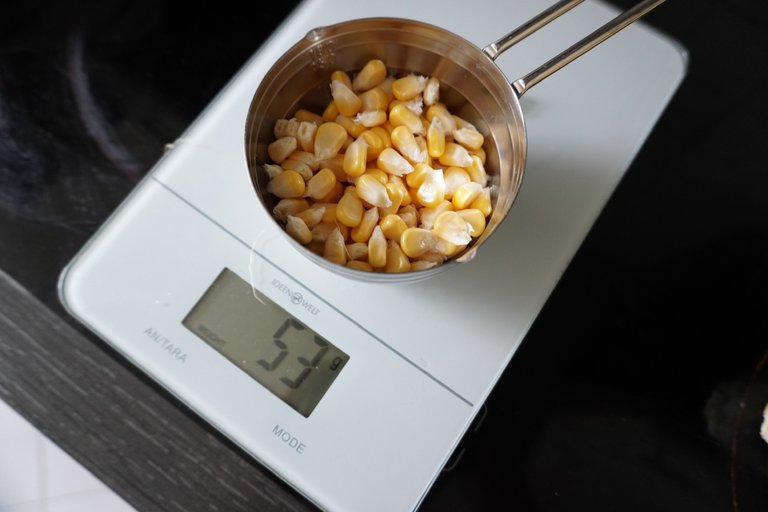
- 40-50g fresh corn kernels
- 1/2 tsp butter
- 1/4 tsp salt
- Green shiso leaves, finely chopped
- Nori (seaweed) for wrapping
Instructions
- Prepare the Rice: Rinse the rice and soak it in 200ml of water for about 30 minutes until it turns opaque.
- Prep the Corn: While the rice is soaking, husk the corn and remove the kernels. I prefer doing this by hand, but you can use a knife too. Aim for about 40-50g of kernels.
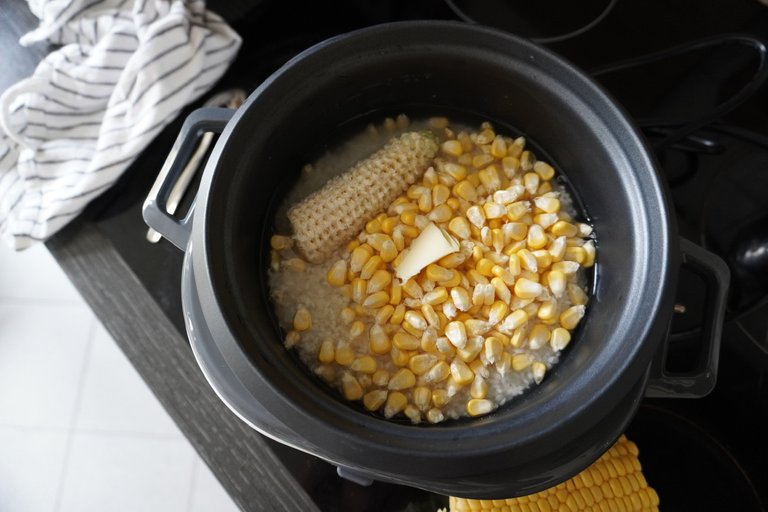
- Cook the Rice: Add the corn kernels, butter, and salt to the rice. For added flavor, include the corn cob in the pot. Cook the rice as usual. If you have a rice cooker just let it cook. If you use a pot, put a lid, start cooking from lower heat, and make the heat stronger in the middle and cooke until almost all the water evaporates. Remove the pot from heat.
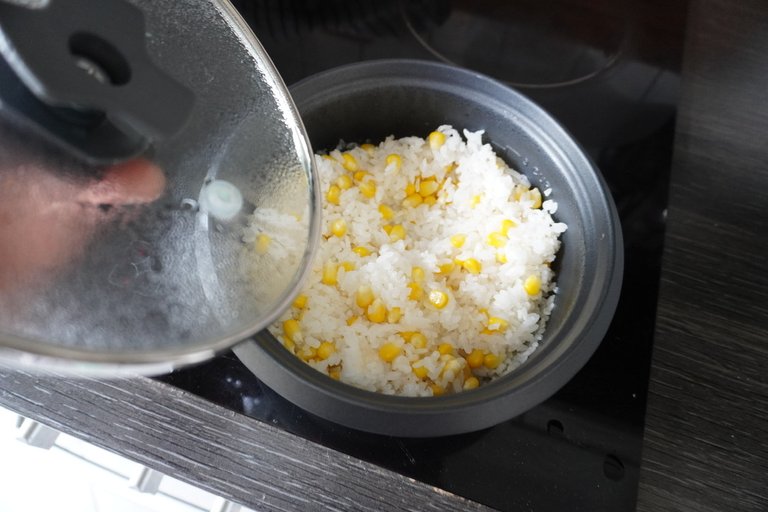
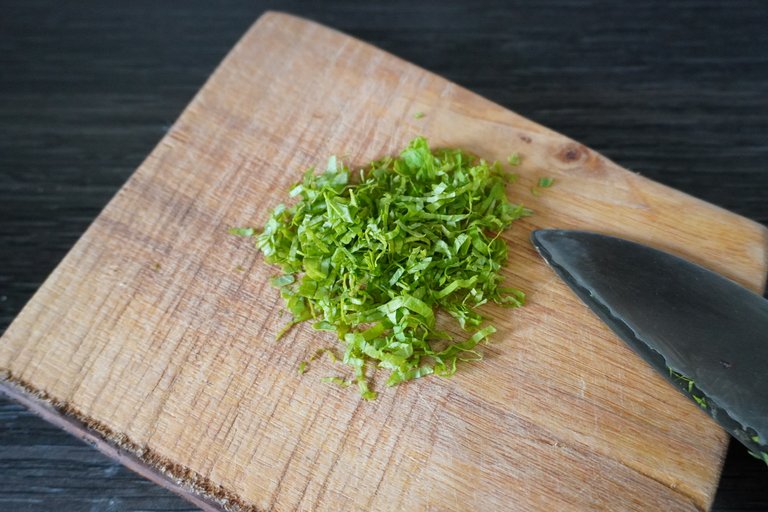
- Mix in the Shiso: Once the rice is cooked, gently mix it with a rice spoon, put the lid again and allow the rice to cool slightly. Mixing in the finely chopped shiso leaves.
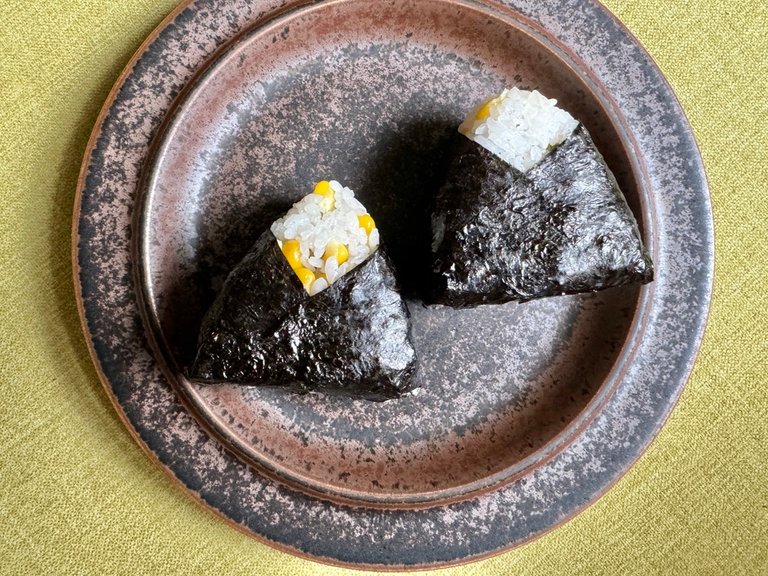
- Form the Onigiri: Wet your hands and add a bit of salt to them before shaping the rice into small balls or triangles. Wrap with nori and your summer corn Onigiri is ready to enjoy! You can make your Onigiri easily in a perfect triangle shape with our Onigiri maker 😉
These Onigiri are sweet from the corn with a lovely crunchy texture, perfectly complemented by the salty and aromatic shiso. Enjoy!
My New Kitchen Gadget
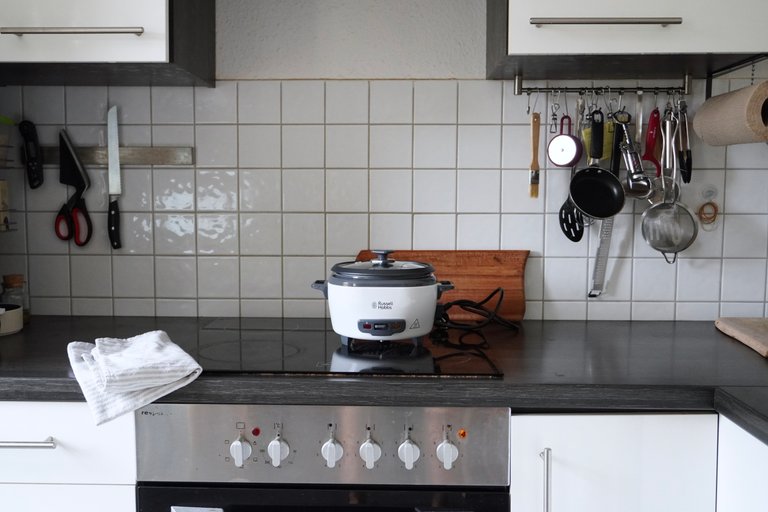
At home, I have cooked rice in a pot, and for catering and events, I use a large rice cooker, which is too big for home use. I’ve been toying with the idea of showcasing our Onigiri Maker for a performance at @hivefest 2024. It reminds me of a Japanese community member making coffee at Steem Fest in 2018. A compact, 3-cup rice cooker would be ideal, fitting easily into my small suitcase.
Unfortunately, there have been some communication issues with the local producer due to staff changes. Hopefully, I'll have it ready in time, but meanwhile, I’ll keep sharing my Onigiri recipes 😊 🍙
Enjoy summer days with Onigiri!
Four Seasons Onigiri Series
- #1 Classic Umeboshi Onigiri
- #2 Green pea onigiri
- #3 Simpe Salt Onigiri with Black Rice
- #4 Summer Butter Corn Onigiri

夏真っ盛りですね!マーケットでは生のとうもろこしが売られていました。ドイツではたくさんとうもろこし畑は見かけるものの、多くは家畜用だそうで、皮つきの生のとうもろこしが売られているのは稀です。毎年この時期、マーケットで近郊の農家のスタンドに並んでいるのを見かけるとうれしくなって購入します。

ということで、とうもろこしの炊き込みご飯のおにぎりを作ることにしました。毎回おにぎりの写真を撮りながら思うのですが、もうちょっと色合いが欲しいと思い、バルコニーで赤紫蘇を追いかけるように育ちつつある青紫蘇を入れてみました。悪くないです。バジルや芽ネギなど、好みによって緑の部分は変えられそうです。
作り方は毎度のことながら簡単です。お米1合(180mlのカップにすりきり一杯)をといで、水200mlを加えて、お米が透明でなく白くなるまで、この季節だと30分ほど浸水させます。浸水させている間に、とうもろこしの皮をむいて、芯から実を外します。私は手で外すのが好きなのですが、包丁で一気に外してしまっても。40-50gくらい用意してください。とうもろこしが多いとおいしいのでたくさん入れたくなりますが、おにぎりの場合、ちょっと握りにくいかもしれません。


ご飯を炊く直前にとうもろこしの実、バター小さじ1/2、塩小さじ1/4を加えて炊きます。芯も入れて炊くとおいしくなるということで、芯も入れてみました。

ご飯が炊けたら芯をとりのぞいてしゃもじで軽く混ぜて、程よく冷めたら、細かく切った青紫蘇を混ぜ込みます。混ぜるときはご飯の粒をつぶしてしまわないように優しく切るように混ぜるとよいです。

もうこのまま食べたい・・・・・・・・少し食べました。小さなおにぎりなら5つ、通常サイズだと4つくらいできます。我が社の木製おにぎり型があると簡単にきれいな三角形のおにぎりを作れますよ!なんて 😉
最後に水をまぶした手に多めに塩をつけて握って、海苔を巻いてできあがり。とうもろこしの甘味とプチプチ感、塩味の効いた夏のおにぎりです。めしあがれ!

おにぎり作りの新兵器

普段の家族で食べるご飯は鍋炊きで、ケータリングやマーケットのときには大きい炊飯器でご飯を炊いているのですが、Hive Festでおにぎりメーカーを使っておにぎりを作るパフォーマンスをしたらおもしろいかも・・・?なんて馬鹿なことを考え始めました。2018年のSteem Festでは日本コミュニティのコーヒービジネスをしている方がコーヒーを淹れていたのを思い出したこともあり。ドイツではミニミニサイズのシンプルな3合炊の炊飯器で1.5キロほど。スーツケースに余裕で収まりそうです。
ただ、おにぎりメーカーは今制作を頼んでいる工房の人事に変更があったようでコミュニケーションがうまくいかず・・・持っていけるといいなと願いつつ、おにぎりシリーズを書きためます 🍙
四季のおにぎりシリーズ
- #1 ド定番の梅干しおにぎり
- #2 グリーンピースおにぎり
- #3 黒米塩むすび
- #4 バターコーンの夏おにぎり